
Practical guide · Pattern cleanup
How to clean up confetti stitches without losing the good detail
Learn how to spot noisy confetti stitches, erase or repaint isolated cells in StitchBitz, merge similar colours by hand, and keep the details that matter.
 Source
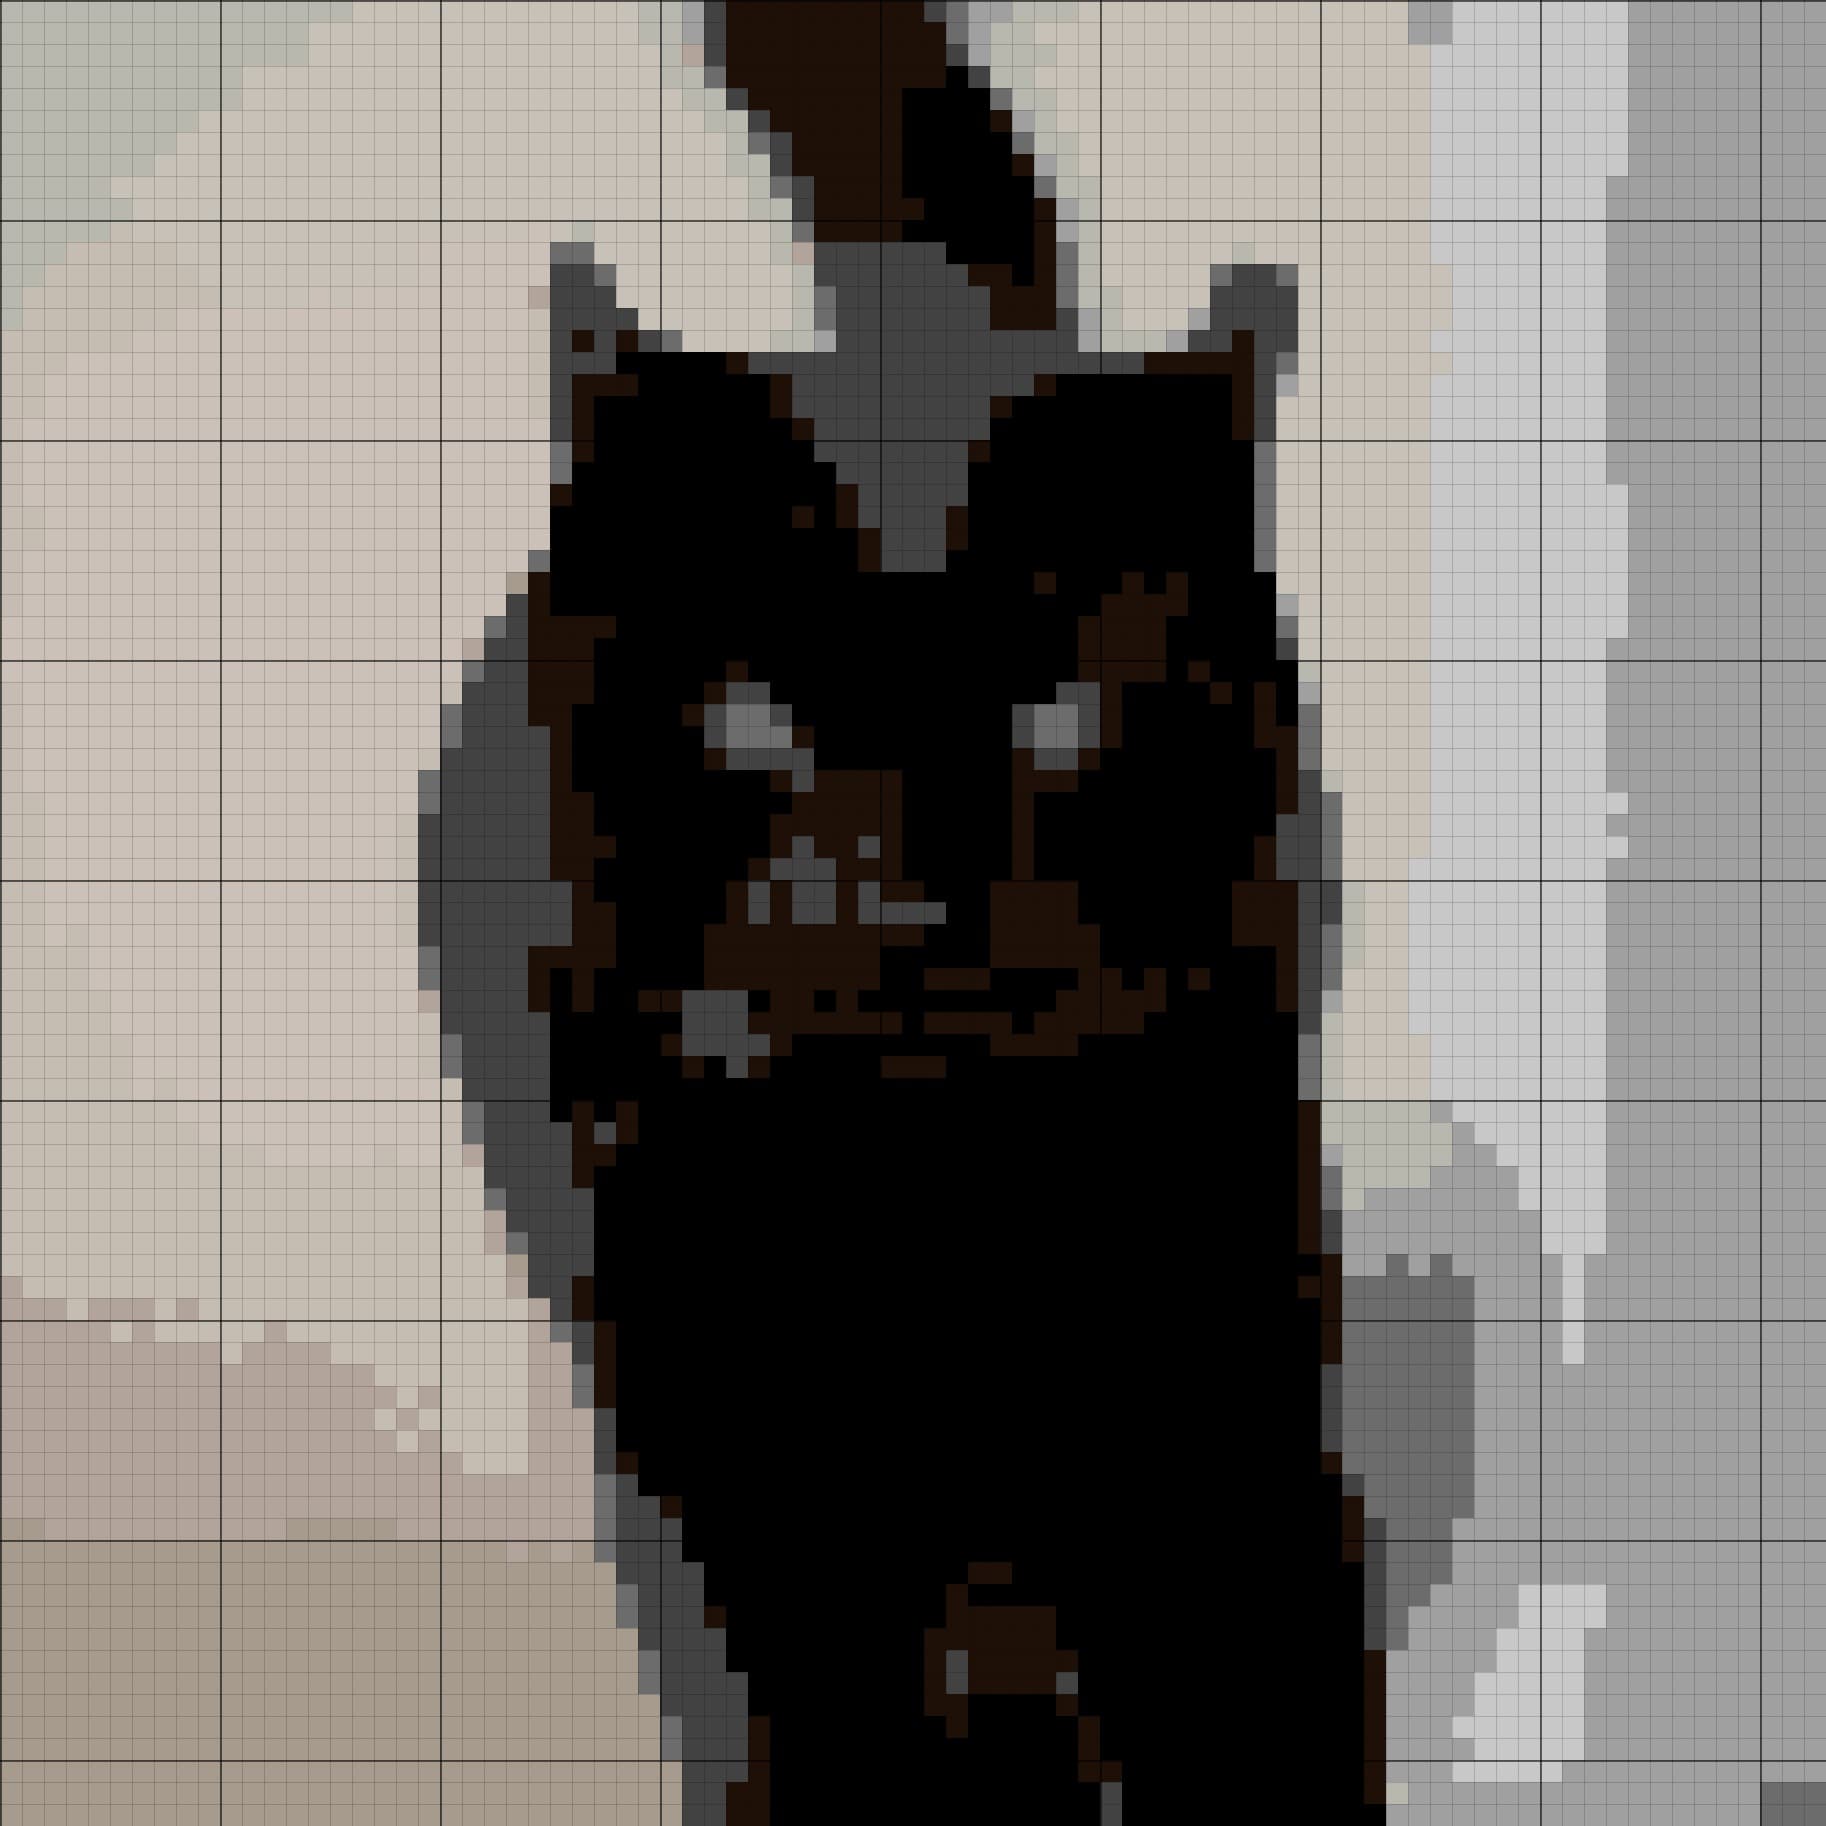 Pattern
Confetti stitches are single stitches or tiny clusters scattered away from a larger patch of the same colour. Some are useful. A bright square can put the glint back in an eye. A dark one can sharpen a nostril or the tip of a leaf. Others are leftovers from turning millions of photo colours into a much smaller DMC palette.
Your job is not to remove every lonely stitch. It is to decide which ones earn the extra needle threading.
Think of the chart as a garden bed. Pull every plant that stands alone and you will lose the wildflowers with the weeds. Clean the parts that feel noisy, keep the small details that help the subject read, and leave a little irregularity where it gives the piece life.
Before you edit, know what confetti is costing you
Confetti is not automatically bad. It becomes a problem when the work it adds is larger than the detail it preserves.
| What you see | What it may be doing | A sensible choice |
|---|---|---|
| One pale stitch in an eye or on a shiny edge | Holding a highlight that makes the subject recognisable | Keep it |
| A few deliberate dots in snow, stars, freckles, or flower centres | Creating part of the design rather than conversion noise | Keep them if they read at the intended size |
| A strange colour that appears once in a quiet background | Preserving a photo variation nobody will notice in thread | Repaint it with a nearby colour or erase it |
| Several near-identical colours tangled in a small patch | Adding thread changes without a clear change in shape or value | Simplify the patch by hand |
| Speckles across the whole chart | A generation problem rather than a small editing problem | Return to Generate and try a more stitchable setting before cleaning cell by cell |
Stand back from the screen before touching the tools. If the subject already reads clearly at normal size, the cleanup should make the chart easier to stitch, not redesign the picture.
Open the Edit step and learn the five controls you need
Create a chart with the free cross-stitch pattern generator, then choose Edit. You can also open a ready-made pattern and choose Edit this pattern.
This first cleanup uses a small part of the toolbar:
- Paint adds the selected DMC colour to a cell.
- Erase makes a cell empty so the fabric shows through.
- Pick Color samples a colour already used in the chart, then returns you to Paint.
- The brush size control changes the square brush from 1 x 1 up to 5 x 5 cells.
- Undo and Redo step backward or forward through committed paint, erase, and tweed strokes.
Use the 1 x 1 brush while you are learning. A larger brush is handy for a broad background, but near an eye, petal, or letter it behaves like a garden rake in a seed tray.
What to notice
Black cat chart in the Edit step with the five controls labelled.
Step 1Inspect one small area at a useful zoom
Choose an area that feels fussy, then use Zoom in until you can see individual cells. The mouse wheel or trackpad also zooms around the pointer. If you lose your place, choose Fit to screen and begin again.
Open Layers and switch on Source image. Set the source image opacity low enough that you can still read the grid. You are looking for a reason behind each odd stitch.
Ask a practical question: if this stitch disappeared, would the eye, edge, stem, letter, or expression change? If not, it may be noise.
Do not inspect the whole chart at maximum zoom. At that scale, every square looks important. Check a patch, then zoom out and see whether the change matters to the picture.
Step 2Erase stitches that should be fabric
Choose Erase and keep the brush at 1 x 1. Click an isolated stitch to make that cell empty. You can drag across several cells, but one click at a time gives you more control around edges.
Erase when the source photo shows open background or when an isolated colour has wandered outside the subject's silhouette. If the design is full coverage, repainting is usually safer than making a hole in the chart.
Made a bald patch in the cat's ear? Choose Undo. The point of Undo is not to rescue failure. It gives you permission to try a change before you are certain.
What to notice
Before and after of three isolated background stitches erased beside the cat's outline. Keep one irregular edge stitch.
Step 3Repaint noise with a nearby colour
Some confetti belongs inside the stitched subject, so erasing it would leave an unwanted gap. Replace it instead.
- Choose Pick Color.
- Click a neighbouring stitch that belongs to the shape you want to keep.
- StitchBitz selects that DMC colour and returns to Paint.
- Click the noisy cell to repaint it.
- Zoom out and compare the patch with the source image.
Choose the replacement by its job, not by whichever swatch looks closest on screen. A dark edge stitch should usually join the shadow family. A pale highlight should join the light family. Preserving that light-to-dark structure matters more than preserving every tiny hue change.
Step 4Merge similar colours by repainting, not by flattening the whole area
StitchBitz does not currently have a bulk Merge Colours command. To simplify two similar colours, choose the one you want to keep and repaint the cells that use the other colour.
Start with the shade used by only a few unimportant stitches. Check the Skeins tab to see the stitch count for each active DMC colour. A colour used once in the background is an easier candidate than one used to model the face.
Then repaint a small sample. If the shape still reads and the patch feels calmer, continue. If the subject becomes flat or muddy, undo the sample and keep both colours.
Do not chase a lower colour count for its own sake. Twelve well-chosen colours can be easier than ten poorly separated ones. The finish line is a chart you trust, not the smallest possible number in the palette.
Useful detail or noise? Try the thread-change test
Imagine stitching the patch with the real skeins beside you. Would you stop, secure the thread, load a new colour, make one cross, and secure it again for the difference this stitch creates?
If the answer is yes, keep it without apology. That may be the one stitch that gives a robin its eye or a teacup its shine.
If the answer is no, repaint it. The chart will still be handmade. In fact, your judgement is what makes it handmade.
When to stop cleaning
Stop when these statements feel true:
- The focal point reads clearly at normal viewing size.
- Quiet areas no longer contain distracting one-off colours.
- Important highlights, facial features, thin stems, and lettering still survive.
- The palette feels manageable for the amount of detail you want.
- Another ten minutes of editing would change very little in the finished piece.
Wabi-sabi gives us a useful permission slip here. A handmade object does not need the sterile smoothness of a factory tile. The small uneven choices are often where its warmth lives. Perfect is a hungry little weed. If you feed it every square of the chart, you may never reach the hoop.
Save the work by downloading it
When the patch is clean, choose Download at the top of the Edit step. Your paint and erase changes carry into the download preview, PDF, and JPG.
Download before you refresh or close the page. StitchBitz keeps these manual edits in the current browser session rather than in a permanent saved project.
Choose the PDF when you want a printable symbol chart and thread list. Choose the high-resolution JPG when you want a full-colour grid image. The materials and download guide explains the final checks.
What to do when the whole chart is confetti
Manual cleanup is best for a sound chart with a few rough patches. If every square seems to be negotiating with its neighbours, go back to Generate.
Try a more stitchable setting, simplify or remove the background, reduce the physical detail by choosing a clearer crop, or generate at a size that gives the subject enough stitches to hold its shape. Change one setting at a time. Otherwise you will not know which adjustment helped.
Then return to Edit for the last human decisions. The generator plants the bed. You decide what deserves to grow.
One useful pass is enough to begin
Make the chart, improve one patch, then call it ready
Organic shapes in the real world rarely have razor-sharp edges. Embrace the unique edges in your chart—they give your handmade pattern its character.
Keep refining
Related guides
Change or replace DMC colours
Add an exact DMC code or find the nearest shade, then test the replacement without losing the design’s light and dark structure.
Plan backstitch detail
Learn where a fine line helps, where it makes a design heavy, and what StitchBitz can currently display and export.
Use editor layers
Compare the chart with the source photo, switch between colour and symbols, and use grid lines and centrelines when counting matters.