
Practical guide · DMC palette
How to change or replace DMC colours without losing the design
Add an exact DMC code or match a hex colour to the nearest DMC shade in StitchBitz, then repaint a cross-stitch pattern while protecting contrast.
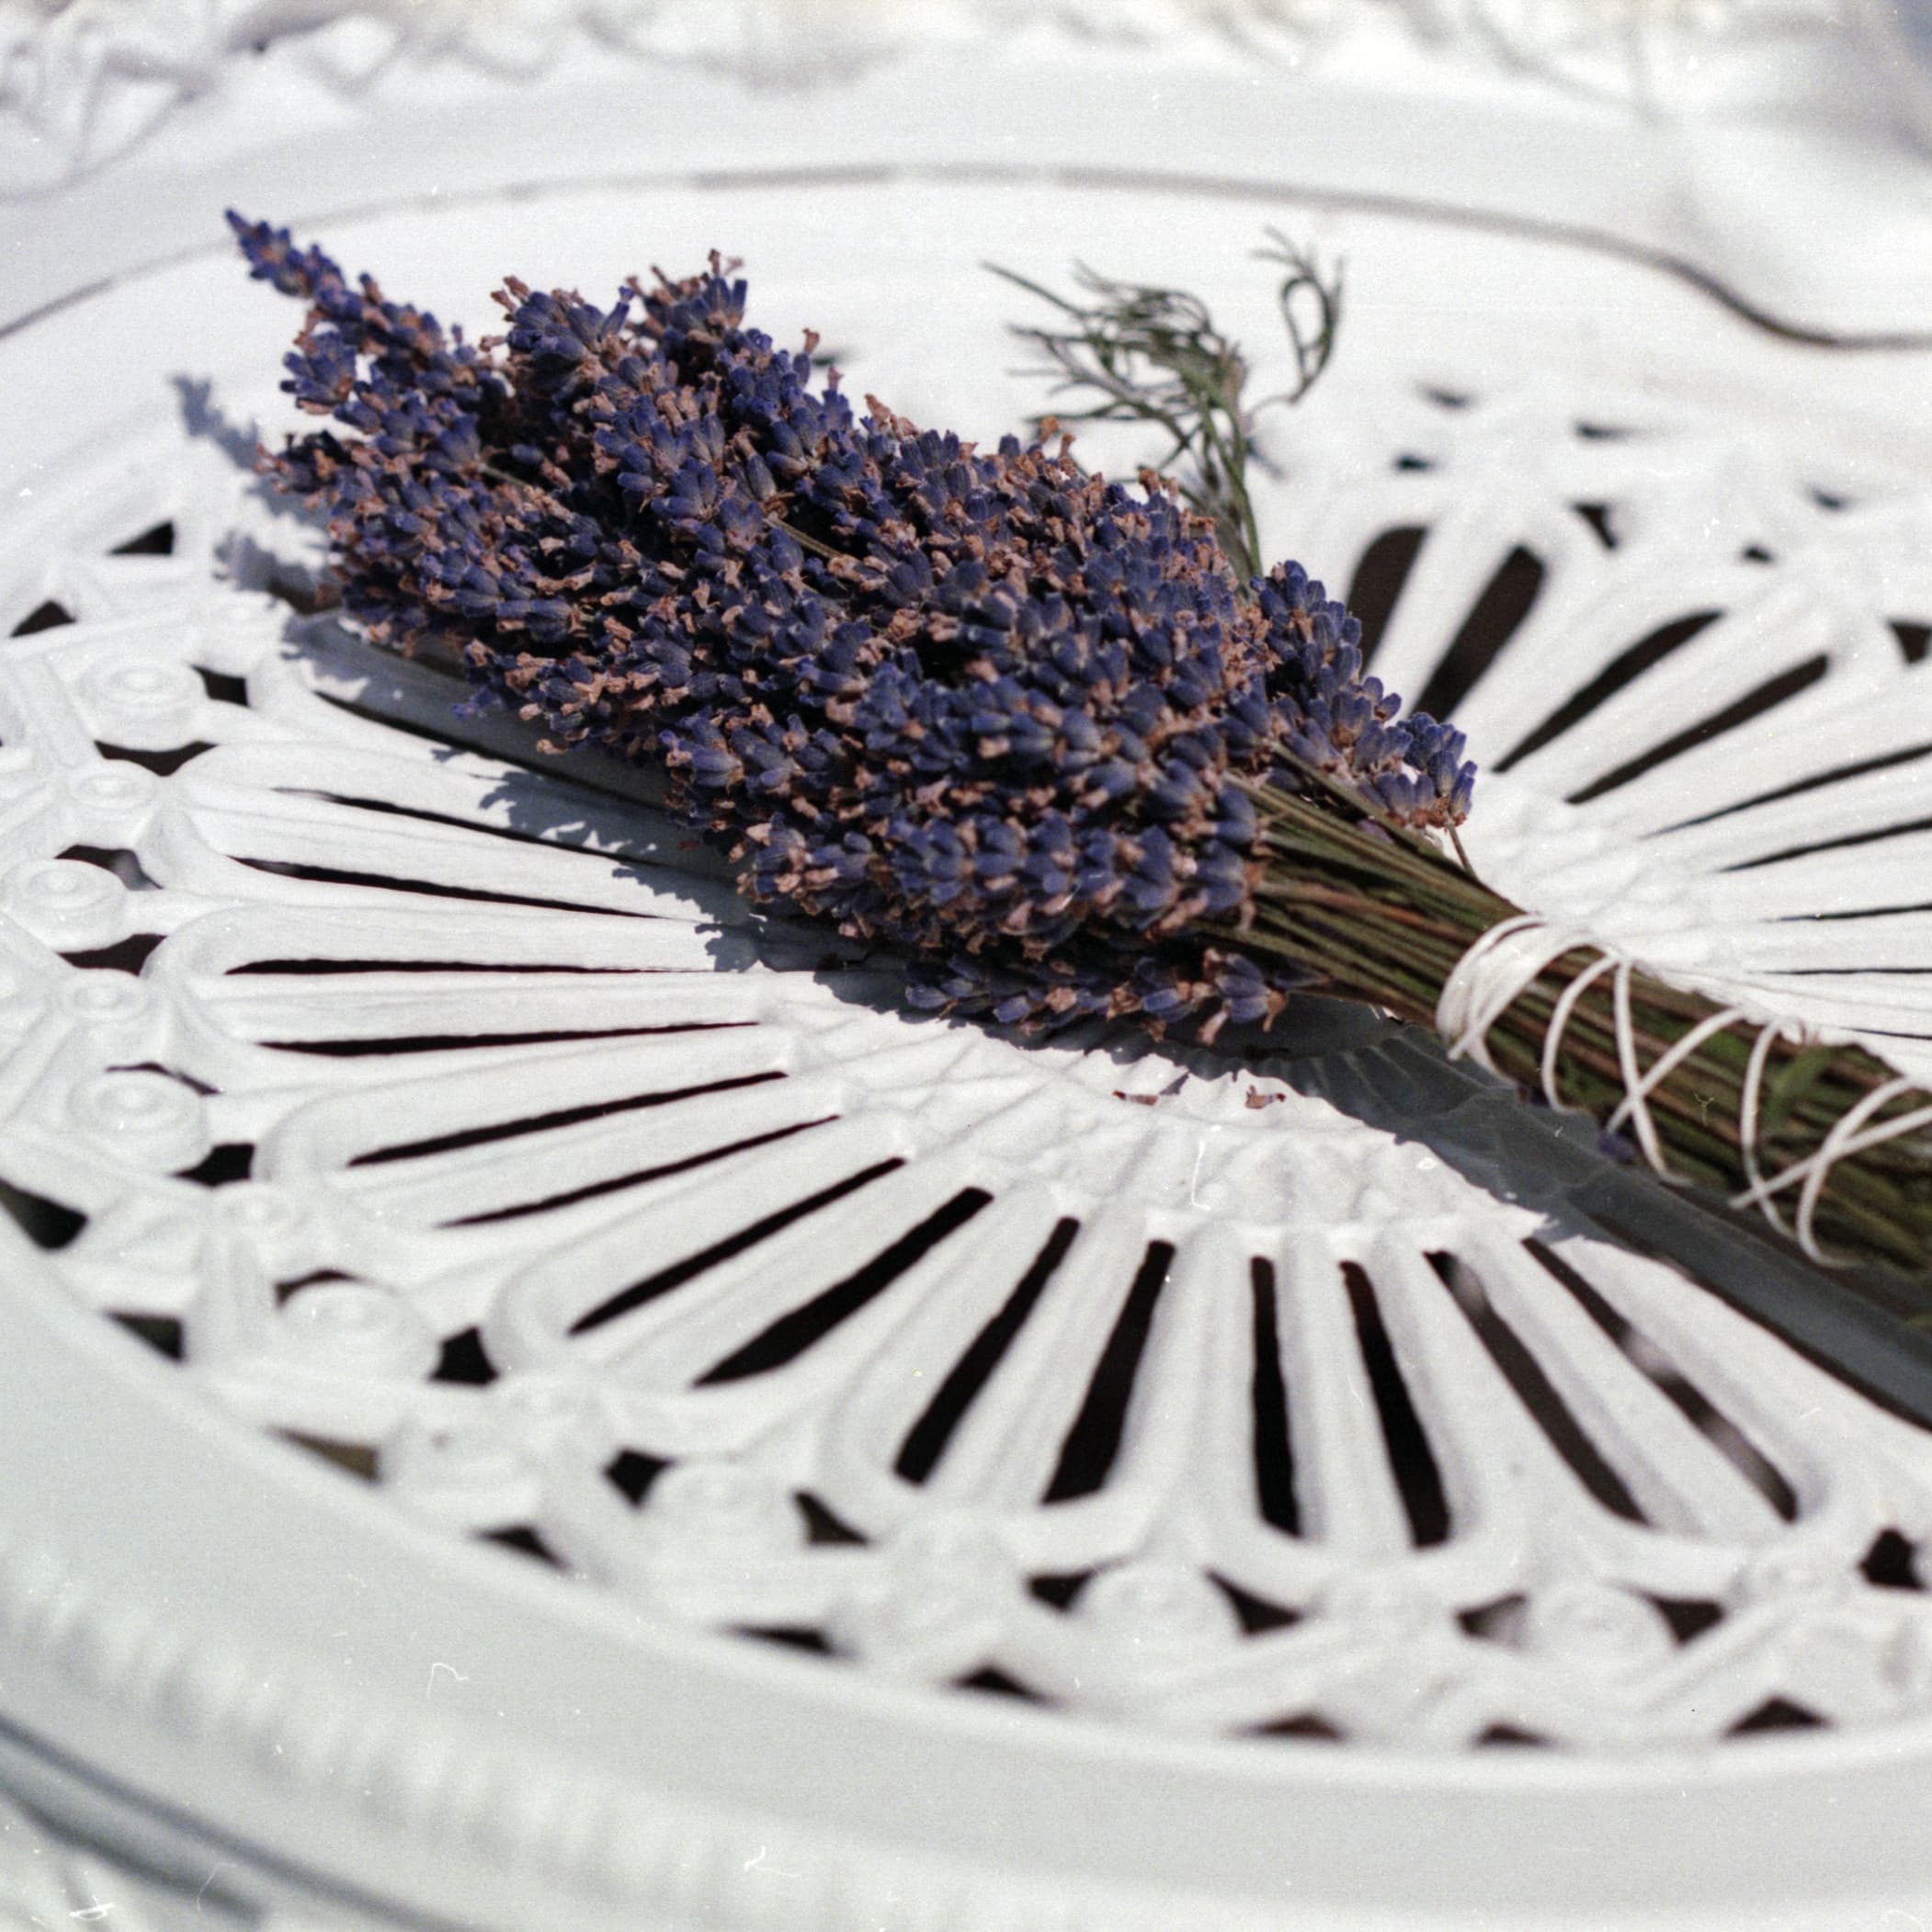 Source
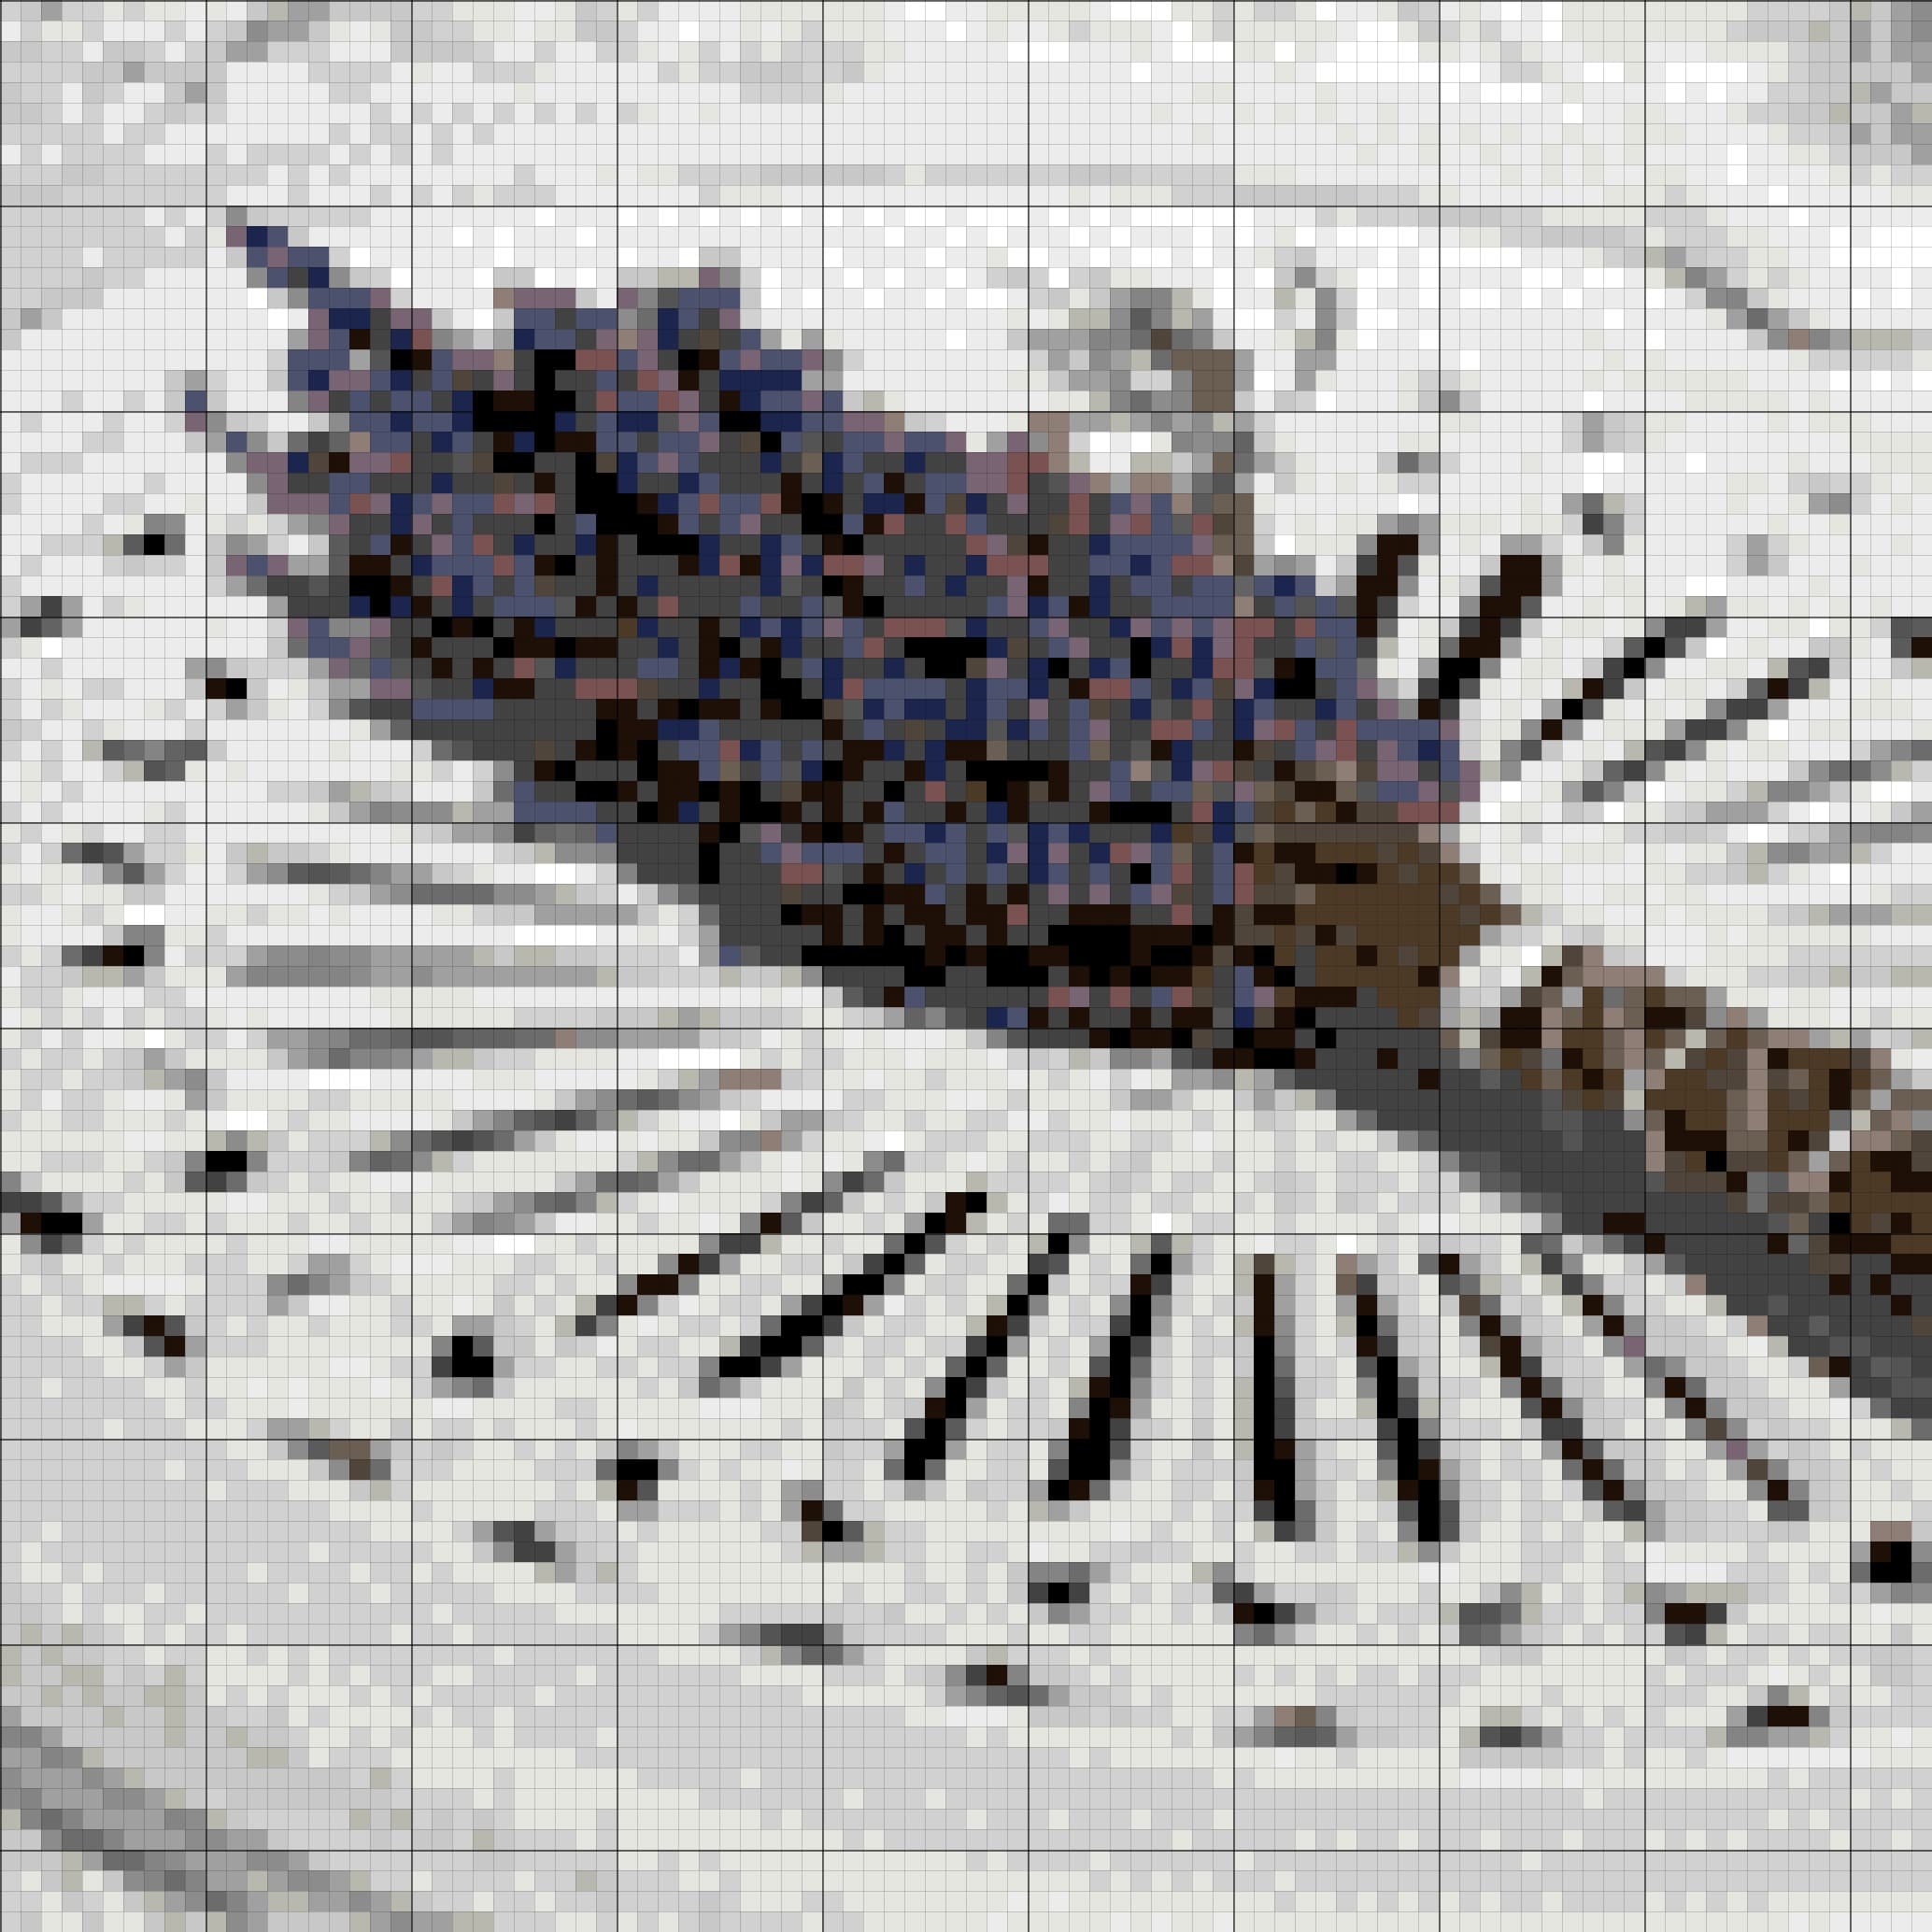 Pattern
A DMC number on a chart is a decision, not a commandment carved into the hoop. You may want to use thread you already own, bring a flower closer to the colour in your garden, improve contrast on dark fabric, or correct a shade that looked better on screen than it does in the skein.
You can change it. The careful part is preserving the job that colour was doing.
A good substitution keeps the pattern's light, middle, and dark structure intact. It is like swapping one piece of fabric in a quilt. Match the role of the piece as well as its hue, and the whole design still holds together.
Decide why you are changing the colour
Name the problem before choosing a skein. It prevents a pleasant-looking swatch from solving the wrong thing.
You may be trying to:
- use a DMC shade already in your stash;
- create more contrast against the fabric;
- replace a colour that feels wrong in the source photo;
- simplify two similar shades into one;
- shift a whole colour family, such as a pink flower to purple;
- make a face, eye, letter, or outline easier to read.
If the existing colour is wrong only because your monitor is bright or warm, the digital replacement may not answer the question. Put the physical skeins on the intended fabric under the light where you stitch. That little floss toss is more trustworthy than a glowing rectangle.
Know what "replace" means in the current editor
StitchBitz lets you add a DMC colour and paint it into the chart. It does not currently have a one-click command to replace every use of one colour, and it does not remove old colours from the underlying palette.
That means the workflow is deliberate:
- Add or select the new DMC colour.
- Repaint the cells you want to change.
- Check the active stitch counts in Skeins.
- Repeat until the important areas use the new shade.
For a colour used in one small motif, this gives you welcome control. For a background made of thousands of cells, try a larger brush carefully or return to Generate and make a broader palette change there.
Accuracy note: Even after the old colour has no stitches left, it may remain in the downloaded palette because the current editor only grows the palette. Check the final PDF legend before treating it as a shopping list.
Step 1Open the Palette tab and inspect the current colours
Make a chart with the free photo pattern generator, then choose Edit. In the right panel, open Palette.
Each swatch shows its DMC code and name when you point to it. Select a swatch to make it the active colour. Choosing a palette colour also selects Paint, unless you are working in Tweed mode.
If you cannot tell which swatch a stitch uses, choose Pick Color and click that cell. StitchBitz selects its DMC colour and returns you to Paint.
What to notice
Black cat editor with Palette open, DMC 310 active, and Pick Color highlighted in the toolbar.
Step 2Add an exact DMC code
Under Add DMC Colour, enter a code such as 321, 310, Blanc, or Ecru, then choose the plus button or press Enter.
If the code belongs to the built-in DMC palette and is not already in this pattern, StitchBitz adds it as a new swatch. Select the new swatch before painting.
Use an exact code when you already have the skein, a designer has specified the replacement, or you have made a physical comparison on the intended fabric.
StitchBitz uses the official code spelling stored in its palette. Blanc and Ecru are named codes rather than numbers.
Step 3Turn a screen colour into the nearest DMC shade
If you have a colour from a digital reference, enter a six-digit hex value such as #B84C65 in Add DMC Colour.
StitchBitz compares that RGB colour with its DMC palette, adds the nearest match, and shows a message such as:
Snapped to nearest DMC: #B84C65 -> DMC [code] ([name])
The word "nearest" matters. DMC floss is a set of real manufactured shades, not an unlimited digital colour picker. A screen value may sit between two skeins, and the nearest mathematical match may not be the best artistic match beside your fabric and neighbouring colours.
Treat the result as a strong candidate. Then check the real thread if the colour carries skin tone, a flower identity, a pet's markings, a logo, or another detail where the exact impression matters.
What to notice
Add DMC Colour field containing a hex value, followed by the visible `Snapped to nearest DMC` message and the new swatch.
Step 4Repaint a test patch before committing
Select the new DMC swatch and keep the brush at 1 x 1. Paint a few representative cells in the area you plan to change.
Choose a test patch that includes an edge and a neighbouring light or dark shade. A colour can look fine in the middle of a block and still weaken the boundary that makes the shape readable.
Then check the patch in these views:
- Flat colour shows the colour blocks without symbols.
- Symbols shows whether the new shade remains easy to distinguish in the working chart.
- Daylight gives you the editor's neutral screen view.
- Warm 2700K simulates a warm lamp and can reveal two shades that begin to collapse together.
These views are comparison tools. They cannot reproduce your monitor, lamp, fabric, and floss exactly. For a long project, stitch a small sample before replacing hundreds of cells.
Step 5Preserve value when you change a colour family
Changing one accent colour is simple. Changing a shaded object needs a little more care.
Suppose a flower uses five pinks. Do not replace all five with one purple unless you want a flat silhouette. Arrange the original skeins from light to dark, then choose a purple run with similar steps. Replace the palest pink with a pale purple, the deepest shadow with a deep purple, and keep the middle shades in order.
You are transplanting a small border, not pouring one bucket of paint over it.
Check the result at normal viewing size. If the petal folds, cheek, fur, or lettering still reads, the new family is doing its job.
Step 6Use your stash without letting it design the pattern for you
Open Stash and mark the DMC colours you already own. You can select colours from the current palette or add a code in the Add by DMC code field.
The Stash tab is a checklist. It does not automatically replace missing shades, restrict the palette, or tell you how much thread remains on a partial bobbin.
When you return to Skeins, owned colours gain a check and disappear from Still need to buy. Your stash choices also carry to the Download step during the current session.
If you want to substitute a stash colour into the design, add that code in Palette as well, then repaint a test patch. Marking a colour as owned does not add it to the chart.
Do not force every substitution simply because the skein is in the box. Sometimes the closest colour in your stash is close in hue but wrong in lightness. One new skein may protect fifty hours of careful stitching.
What to notice
Stash tab with DMC 310 checked, followed by Skeins tab showing 310 removed from Still need to buy.
A note about Tweed
Tweed (2 colours) paints a cell with a primary and secondary DMC shade so you can preview a blend inside the editor. It can be useful when no single skein gives you the transition you want.
The current portable pattern format cannot store two colours in one cell. When you continue to Download, StitchBitz keeps the primary colour and drops the secondary colour from that cell.
If the blend matters to the project, keep a separate note or screenshot and read the materials and download guide before exporting.
When to stop adjusting the palette
A palette is ready when the subject reads, the important colour relationships survive, and you can gather the thread without resentment.
It does not need to match the photo one photon at a time. Thread reflects light. Screens emit it. Cross stitch also has its own lovely, blocky grammar. Respect the material instead of bullying it into imitation.
Make the change that helps. Stitch a small sample when the risk is high. Then let the pattern become a project.
Download the edited chart before leaving
Choose Download at the top of the Edit step. Paint and erase changes carry into the PDF and JPG.
Download before refreshing or closing the page. Palette additions, repainting, and stash marks live in the current session rather than a saved account.
Review the thread legend in the Download step, especially if you repainted every cell of an old colour. The palette does not currently shrink, so a zero-use shade may still appear in the exported legend.
One useful pass is enough to begin
Make the chart, improve one patch, then call it ready
Organic shapes in the real world rarely have razor-sharp edges. Embrace the unique edges in your chart—they give your handmade pattern its character.
Keep refining
Related guides
Plan backstitch detail
Learn where a fine line helps, where it makes a design heavy, and what StitchBitz can currently display and export.
Use editor layers
Compare the chart with the source photo, switch between colour and symbols, and use grid lines and centrelines when counting matters.
Estimate materials and download
Mark the thread you own, check the estimates, note any tweed cells, and choose the PDF or JPG that suits your next step.